All other rooms in the apartment have been given a loving hand and have been made much more personal, so now it was the kitchen's turn. It had been pushed to the end because it seemed more cumbersome and because we wanted a dishwasher, but one cannot find a place in our current kitchen. In order to fulfill that wish, we would have to put in a completely new kitchen with other cupboard solutions. 
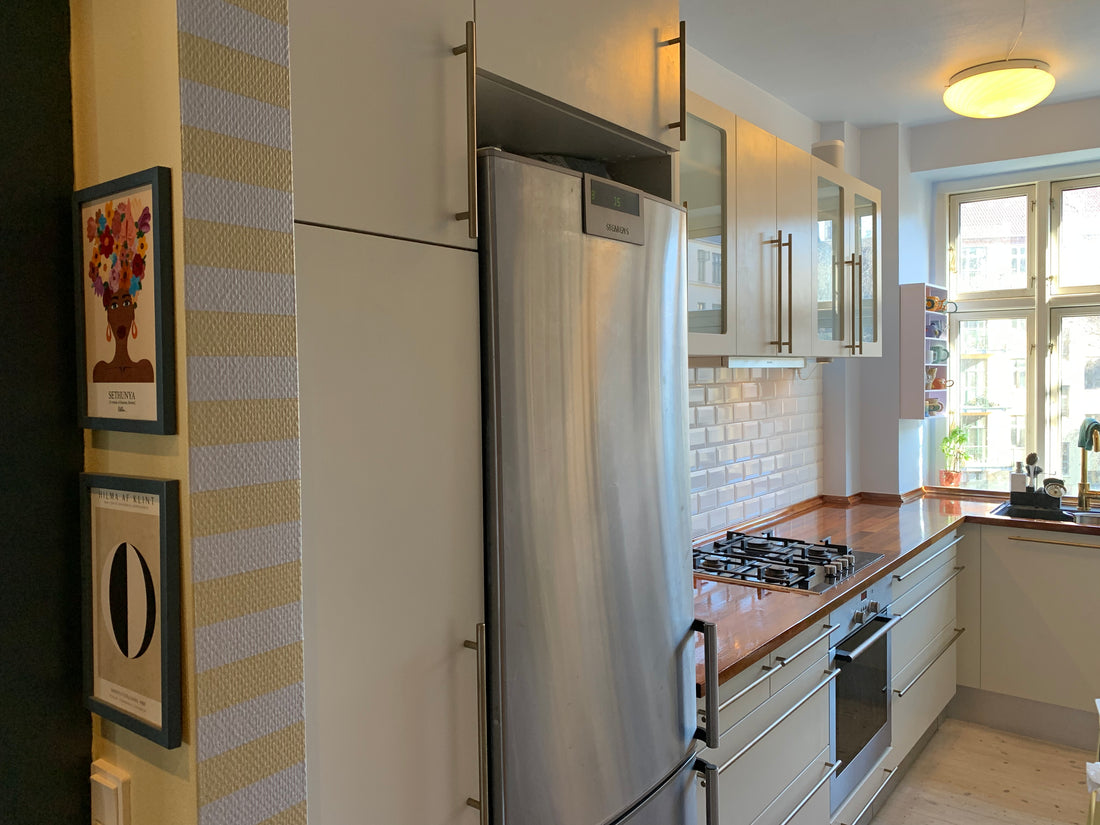
But the kitchen looked tired. In several places, the laminate had peeled off and the wooden tabletop could not withstand all the water it received when washing dishes by hand. The walls had to be painted to that extent - and preferably yesterday. As the finishing touch, we wanted brass details in the kitchen. So how do you make a less cumbersome, affordable, but still functional upgrade to your kitchen?
The inspiration here is divided into 4 parts: table top, cabinet doors, handles and wall paint.
All in all, our upgrade cost DKK 1726.
This includes wall paint, adhesive primers, wood paint, marine varnish, turpentine, brass spray paint and lacquer spray.
As for materials, we have bought painter's tape, 3 extra paint rollers, a brush for applying varnish, sandpaper.
(In addition, we have received 1 extra bucket of paint in a different color. Keep an eye out for bargain offers. It is almost always possible to get two different colors of paint for the price of 1.)
Table top
The table top had to have ship lacquer so that it can hold water when we wash dishes. It had been oiled before, so for a start we sanded it down with an eccentric sander. Make sure to remove everything from the room to close off the other rooms. It's absolutely dusty, so wear a mask too. You really have to go down a long way to sand off all the oil and get rid of various scratches and nicks. We would not recommend doing it with sandpaper. You will never reach the goal and your result will not be even. You can get an eccentric grinder for less than DKK 1000, and it's worth its weight in gold! Turn your time into money - then it will be earned before you have even finished the tabletop. Next, we could see that small oil spots continued to appear. To remove the grease from the table, we washed it with turpentine. It is important that you get the oil out of the table, otherwise there will be bubbles in your ship's varnish. We washed with turpentine 3-4 times, and then we agreed to take with us any bubbles that might come. All the oil did not want to go.
Next, we were sanding again, because the tree is happy to get up when it gets fluid. Then we vacuumed the table and wiped well before we started with the ship lacquer. We applied with a brush, but you can also use a roller. The table got 4 times and between each time we slit it lightly with sandpaper. The result is a shiny glossy kitchen table that is easy to wipe. Some steses can be seen the ruptured bubbles, but we live with that - for now.


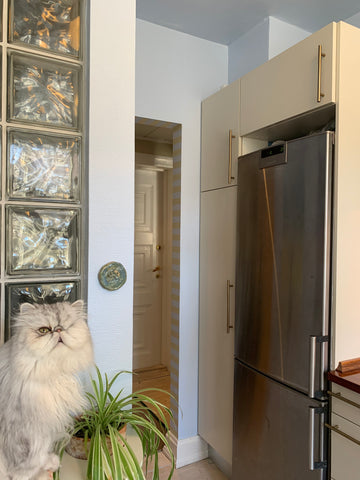
Kitchen elements
We washed down the entire kitchen to ensure the best possible adhesion of the paint. The cabinet doors and drawers are laminate, so we lightly sanded them with the eccentric sander to ensure even better grip for the paint. Next, the whole thing got a layer of adhesive primer. To make sure it adhered well, we took a sharp object and tried to scratch. If you manage to scratch, you either have to sand more or wash down better. When the staple primer was dry, we began the painting work. All the parts got 2 coats. We just have to check the color of the cabinets. The color on the bucket is said to be identical to the color we have in the hallway, and therefore on the stripes in the arch, but no one seems to jump on it. It is a more greenish beige called LIGHT 2C. The cabinet color is a lighter beige. 
Grip
Our kitchen grip was boring and silver -colored and therefore went against the idea of the brass details. To avoid having to spend several thousand dollars on grips in brass, we tried and with spraymaling the ones we had. They were also washed down well to start with and then it got 2 layers of brass paint. Finally, it got a layer of varnish. It is important to follow the instructions on the cans. When it says that you have to be 30cm off, you have to be 30cm off. We learned that the hard way.
The color does not become completely even, but it does not matter much. It looks a bit like it is brass that has got a patina, as it is darker in some places. They don't last forever. We can already sense that now, but they have already convinced us that we must have brass grips when these have served their military service. It just looks better in the kitchen. We will definitely do it again - it's not wasted, but as I said, it's not a 10-year solution. 
Wall painting
Initially, we wanted to paint the kitchen the same beige color as the hallway - LIGHT 2C from Røverkøb. However, the beige on the doors didn't do its job and looked more like a worn white. Fortunately, we came up with other ideas with the help of all our followers on Instagram - and the walls turned blue. And the ceiling - because Frederik hit it when he just wanted to finish. The color is called Light Aqua 1C.
Our hallway and kitchen are the only rooms that are not separated by a door frame, but instead by an arch. To get the two wall colors to meet nicely, we played a bit with masking tape. Our striped arch is now one of the best things in the apartment. Both the hallway and kitchen are in relatively muted colours, but the striped arch brings a bit of circus into the rooms despite this.

The ceiling needs an extra corridor - but otherwise the kitchen is finished and we are happy!
Please let us know if you have any questions, good advice or share your own make-over with us if you use some inspiration from here!
Lots of construction debris,
Fred and Chris