Since we acted a little too quickly and threw out the old coffee table before we had received the new one, and the new one also did not live up to expectations, we had to be creative 🪚
And luckily for that. Our new coffee table is far better than we had imagined, because it is built exactly according to our measurements and our needs. And you can do the same with very few funds! We spent approximately 7 hours on the table. So it's easy to see. 
You need MDF in a size that fits the size of the table you want to make and a smaller piece if you want a shelf like ours. In addition, you must use poster tubes. The thicker, the better, because then they are more stable. In addition, you must use fuxsvans (a good old-fashioned saw), jig saw, eccentric sander, or sandpaper, but then you must add good arm rests. This is where the planer helps you. It is not necessary. Just an extra tool for the round edges. Furthermore, you must have a tape measure and something to draw with ready. You will also need wood glue and paint! We forgot that in the picture.
First you draw your top plate and your shelf. Both parts are sawed out with the jigsaw. Next, you saw the poster tubes to the desired lengths. Our one leg is 45cm. Note that the two legs by the shelf are 1.5cm shorter, which is the thickness of the MDF board.

 After that, it's just a matter of sanding the edges as soft and round as possible. I alternated a bit between the eccentric sander and taking a little extra with the planer. You can easily use sandpaper.
Before proceeding with the table, I chose to test how the composition worked best, whether the legs were the same length and whether the shelf should be under the table or stick out from the table. You can turn both plates lengthwise, crosswise and upside down, so there are countless combination possibilities. 
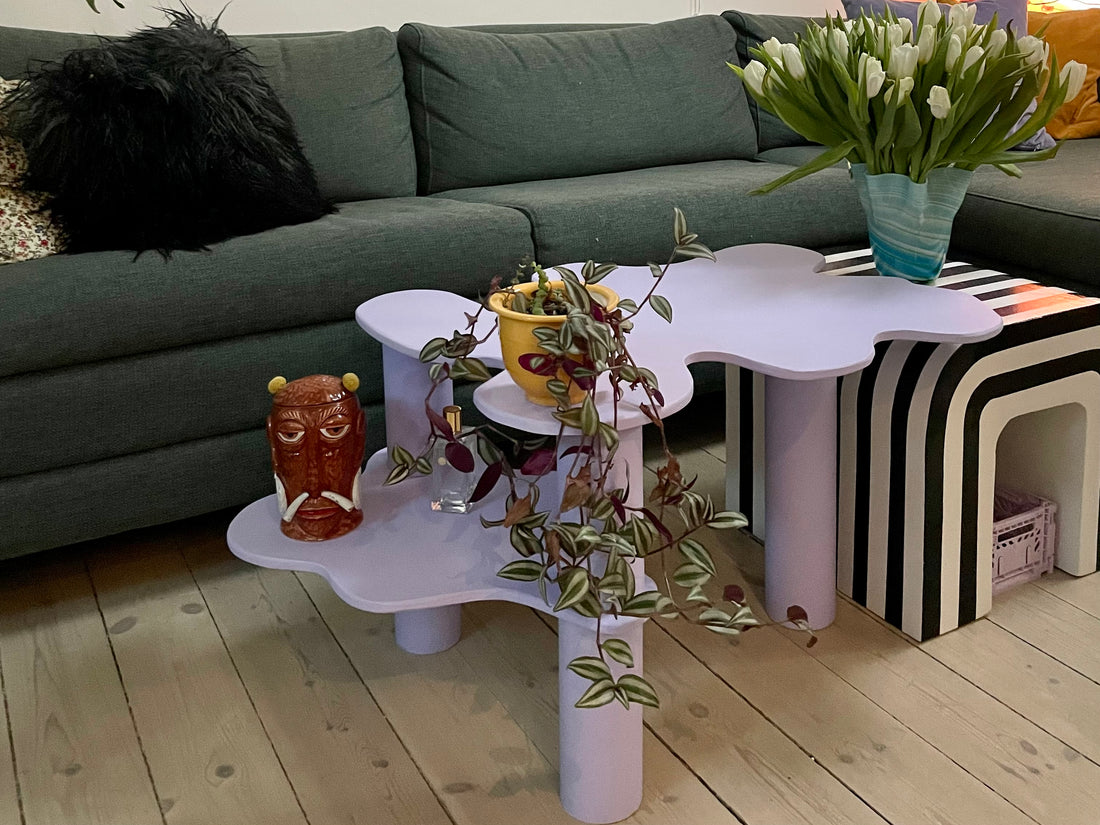
I chose to prime and paint the table before putting it together. Then there was less brushwork. The paint was also leftover, so I managed to paint the table green before deciding it had to be purple. Furthermore, I also changed my attitude to the look of the table, and therefore turned one plate over. Next, I glued the legs and boards together with wood glue. Wood glue should preferably be under pressure, so place something heavy on afterwards. Be sure that the paint is properly dry so that you don't risk having to paint again.

And vupti, a piece of homemade coffee table with room for trinkets, which fits over our other coffee table and which is not too heavy in appearance. 
If you have any questions about the project, or if you are considering taking part in it yourself, don't hesitate to write. We are happy to share tips and tricks.